Segala Kemenangan Paling Mudah Kamu Dapatkan Bersama Situs Slot Kembali Menarik Mata
Segala Kemenangan Paling Mudah Kamu Dapatkan Bersama Situs Slot Kembali Menarik Mata
Kemenangan dalam permainan adalah sesuatu yang dicari oleh setiap pemain harus belajar apa itu slot online. Itulah sebabnya, kalimat yang menggambarkan kekalahan akan dibayar kembali menjadi sangat menarik. Namun, perlu diingat bahwa kemenangan sejati bukan hanya sebatas materi, tetapi juga pengalaman dan kesenangan yang didapat dari permainan itu sendiri.
Dalam konteks permainan slot online, kemenangan menjadi bagian integral dari pengalaman bermain. Bukan hanya sebatas nominal kemenangan yang diraih, tetapi juga kesenangan dan kepuasan saat memutar gulungan dan melihat simbol-simbol yang sesuai. Berbicara tentang jenis kemenangan terhebat dan besar, hal ini mencakup berbagai aspek, mulai dari kemenangan kecil yang sering terjadi hingga kemenangan besar yang mengubah nasib.
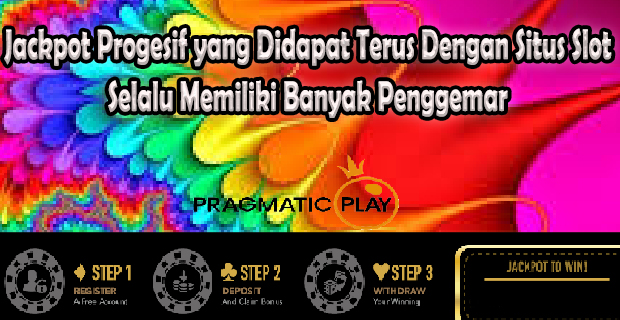
Pertama-tama, kemenangan terhebat dalam permainan slot online adalah kesempatan untuk meraih jackpot progresif. Jackpot ini merupakan hadiah utama yang terus bertambah nilainya seiring dengan jumlah pemain yang memasang taruhan. Meraih jackpot progresif bukan hanya tentang keberuntungan semata, tetapi juga strategi dalam memilih taruhan dan memainkan permainan dengan bijak.
Jackpot Progesif yang Didapat Terus Dengan Situs Slot Selalu Memiliki Banyak Penggemar
Jackpot progresif, kemenangan besar juga bisa didapatkan melalui fitur bonus dalam permainan slot. Fitur-fitur seperti putaran gratis (free spins), bonus mini-games, dan pengganda kemenangan (multipliers) dapat membantu pemain meraih kemenangan yang signifikan dengan modal yang relatif kecil. Memanfaatkan fitur-fitur bonus ini dengan tepat dapat menjadi kunci kesuksesan dalam meraih kemenangan besar.
Namun, kemenangan terhebat dalam slot online tidak hanya sebatas nilai materi. Pengalaman bermain yang seru dan menyenangkan juga merupakan bagian penting dari kemenangan tersebut. Sensasi memutar gulungan, grafis yang menarik, dan efek suara yang mengasyikkan semakin memperkaya pengalaman bermain dan membuat setiap kemenangan terasa istimewa.
Dalam konteks ini, keamanan dan keadilan dalam permainan slot online juga menjadi faktor penting. Sebuah platform permainan yang dapat diandalkan akan selalu melindungi kepentingan para pemainnya, memastikan bahwa setiap kemenangan yang diraih adalah hasil dari permainan yang fair dan adil. Hal ini memberikan kepercayaan diri ekstra bagi pemain untuk menikmati setiap putaran permainan dengan penuh keyakinan.
- Dengan demikian, kemenangan terhebat dan besar dalam permainan slot online bukanlah sekadar tentang nominal uang yang diraih, tetapi juga tentang pengalaman bermain yang memuaskan dan aman.
- Melalui kombinasi antara keberuntungan, strategi, dan pengalaman bermain yang menyenangkan, setiap pemain dapat menikmati setiap momen bermain dengan penuh semangat dan antusiasme.
- Rasakan sendiri efek positif yang ditawarkan oleh dunia slot online yang selalu berusaha memberikan yang