Flagship pillar
Character & Anime Art
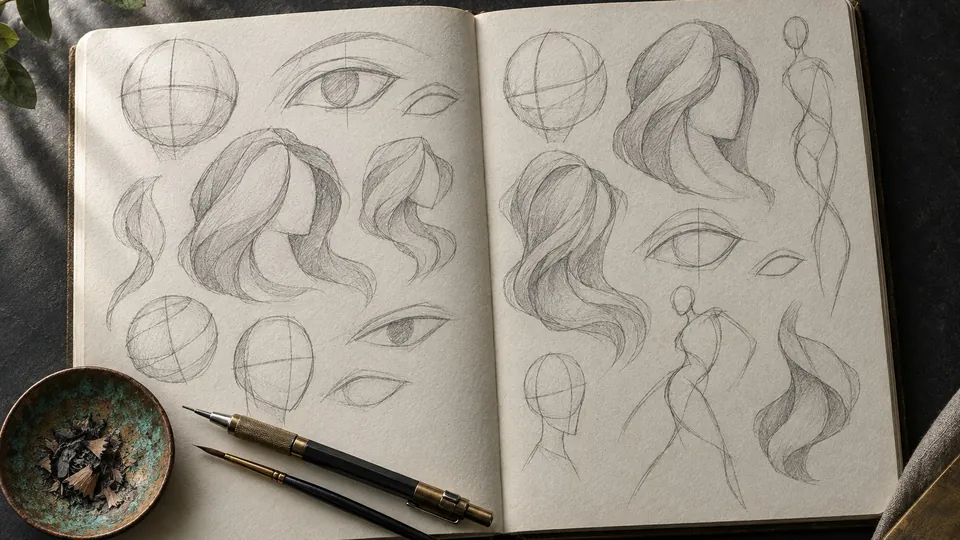
Faces, figures, and stylized character work. The flagship of Bio Rust since the beginning, rebuilt as three anime drawing tutorials that treat the head as a construction problem you can solve the same way every time.
Character art is where Bio Rust began, and it is still the heart of the library. Every anime drawing tutorial in this pillar works the same way: block the underlying forms, place the features on a wrapping cross, then style the surface. The order is the method. Learn it once and expressive character work stops depending on luck, because a head drawn at any angle is built from the same ball, jaw and cross as the last one.
The pillar is deliberately short. Three tutorials cover the parts of a stylized face that decide whether it reads: the eyes, the head that holds them, and the hair that frames them. Each is written as a numbered method with measurements in eye widths and head widths, a callout for the one decision that matters most, and a table of the mistakes seen most in critique with the fix for each.
Read the three tutorials in this order
Start with the anime eye method, the best known page in the archive. It teaches the eye as a stack of five decisions: the gap between the eyes (one eye width), the upper lash line as the heaviest tapering stroke, a vertical iris cropped by the lid to set the expression, one highlight on the light side, and a soft shadow band under the upper lid so the iris sits inside the socket. The eye is the anchor of a stylized face, and once it is repeatable the rest of the face has somewhere to hang.
Then move to anime head proportions from any angle. It builds the head as a ball for the cranium with a jaw hung one ball radius below, and wraps a center line and brow line around the ball so the same construction survives the turn into three quarter view and profile. The eyes land just below the brow line, one eye width apart, with the nose base halfway to the chin. This is the tutorial that fixes the face that looks right from the front and wrong from any other angle.
Finish with drawing hair as blocks. It replaces strands with three to five large masses flowing out and down from the crown, overlapped, with strands only at the tips and where masses meet, and one broken band of shine where the skull turns toward the light. Hair drawn this way reads at thumbnail size, which strand-by-strand hair never does.
| Tutorial | What you leave with | The number to remember |
|---|---|---|
| Anime eyes | A five step eye you can draw the same way every time | One eye width between the eyes |
| Head proportions | A ball and jaw construction that turns to any angle | Jaw hangs one ball radius below the cranium |
| Hair as blocks | Hair as three to five masses from the crown | One band of shine, never two |
The problems this pillar solves
Most character drawings fail in the same handful of ways: two eyes that are each fine and wrong together, a face that collapses in three quarter view, hair that reads as wire, and a symmetrical, lifeless expression. Every one of those is a construction error, and each tutorial names it and gives the fix. The habit that prevents all of them is flipping the canvas before committing to inks; wobbles you have stopped seeing become obvious.
Once construction feels natural, bring in the painting fundamentals from the digital painting fundamentals pillar: a value first approach makes a character read from across the room, and the terminator on a cheek is an edge decision. Crisp inks come easier with the free ink and lineart brush set, whose tapered inkers were built for the heavy outer corner of an upper lash line.
Character work is also where questions about authorship come up most often, because stylized, polished faces are exactly what automated detectors misread. Keep the construction layers and sketches as you go; the process and provenance pillar explains how that record becomes evidence, and the same construction knowledge is what lets you judge a face that skipped a step.
Techniques in this pillar
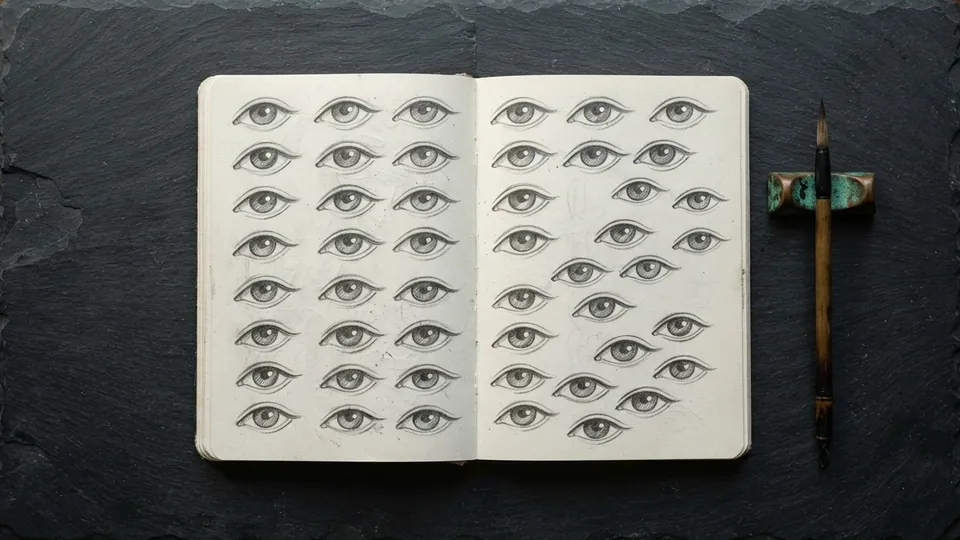
Plate 01 How to Draw Anime Eyes: A Complete Method
The eye is the anchor of a stylized face. Build it in the same order every time, from the gap to the lash line to the iris, and it stops feeling like luck.
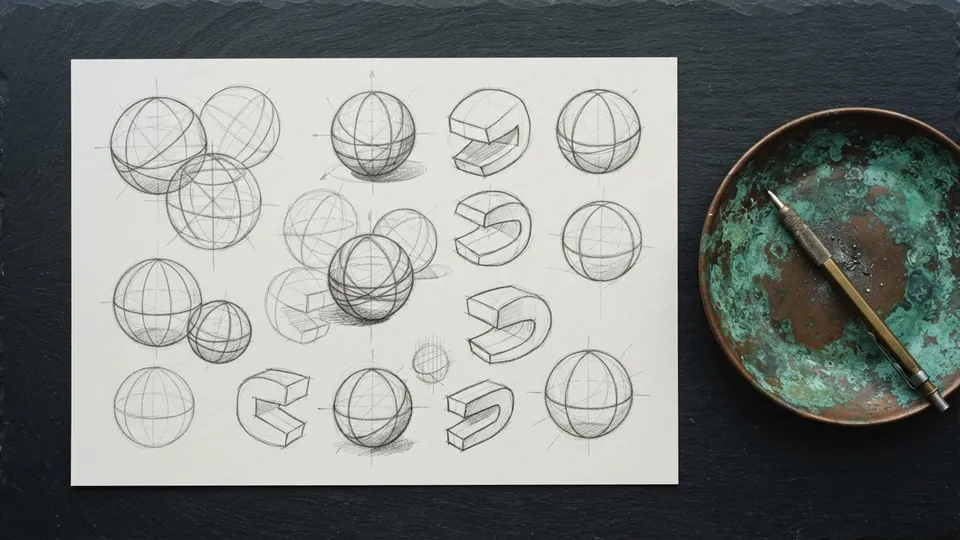
Plate 02 Anime Face Proportions: Head Construction From Any Angle
A reliable construction for the stylized head that survives being turned: ball, jaw, wrapping cross, then features, with the measurements in eye heights and head widths for front, three quarter and profile.
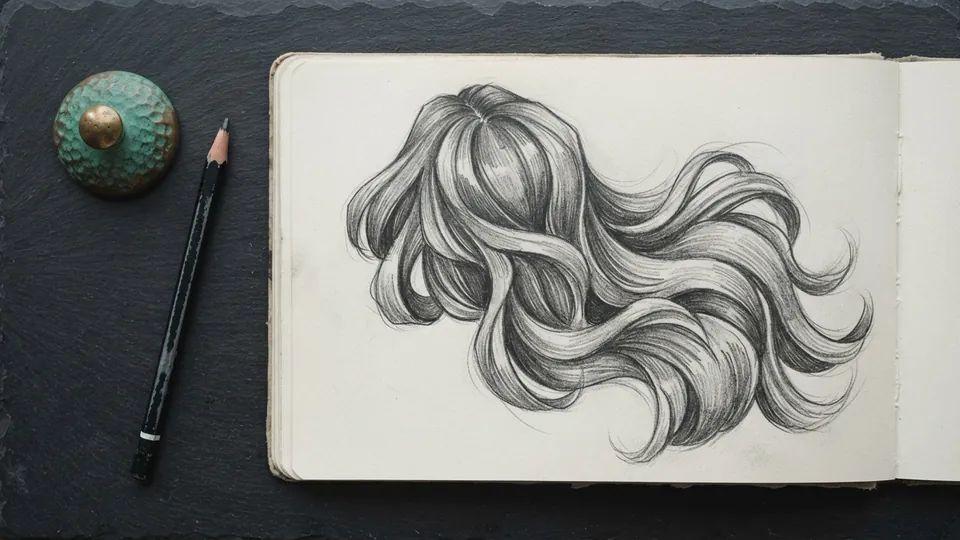
Plate 03 How to Draw Anime Hair as Blocks, Not Strands
Stop drawing individual hairs. Group hair into a few large flowing masses from the crown, ink the edges with weight, and add one band of shine, and the whole thing reads as hair.
Common questions
Do I need to be able to draw realistically first?
No. Stylized character art has its own logic. A grounding in construction and proportion helps, but you can learn anime and character techniques directly. The methods here are written for artists between beginner and intermediate, and each starts from a ball and a cross rather than from anatomy.
What software do these anime drawing tutorials work in?
All of them. The construction and proportion techniques are tool agnostic and apply in any drawing app, on paper, or on a tablet. Where a step needs a specific feature, such as flipping the canvas or a stabilizer for the lash line, it is named and the free brush set covers the inking.
Why start with the eyes?
Because the eye is the anchor of a stylized face and the part most artists find hardest. Getting a repeatable eye method first makes the rest of the face easier to place: the gap between the eyes sets the width of the head, and the eye line sets where the brow, nose and mouth fall.
How long does each tutorial take to work through?
About an hour each at the canvas, longer if you repeat the exercise. The eye method is best drilled ten times on one page; the head construction is drilled at three angles; hair is drilled as silhouettes first. Repetition is what makes the construction automatic.
Related reading
- How to Draw Anime Eyes: A Complete MethodThe eye is the anchor of a stylized face. Build it in the same order every time, from the gap to the lash line to the iris, and it stops feeling like luck.
- Digital Painting pillarRender light and color with intent.
- How to Document Your Art ProcessA repeatable way to keep thumbnails, construction, session saves, layered files and timelapse so you can show exactly how a piece was made, and prove authorship when someone asks.
- Ink & Lineart Brush SetTwelve crisp tapering brushes for character line work. Natural pressure taper, minimal texture, and one inker you can use for a whole piece.
- The full tutorials archiveEvery technique in one filterable list.