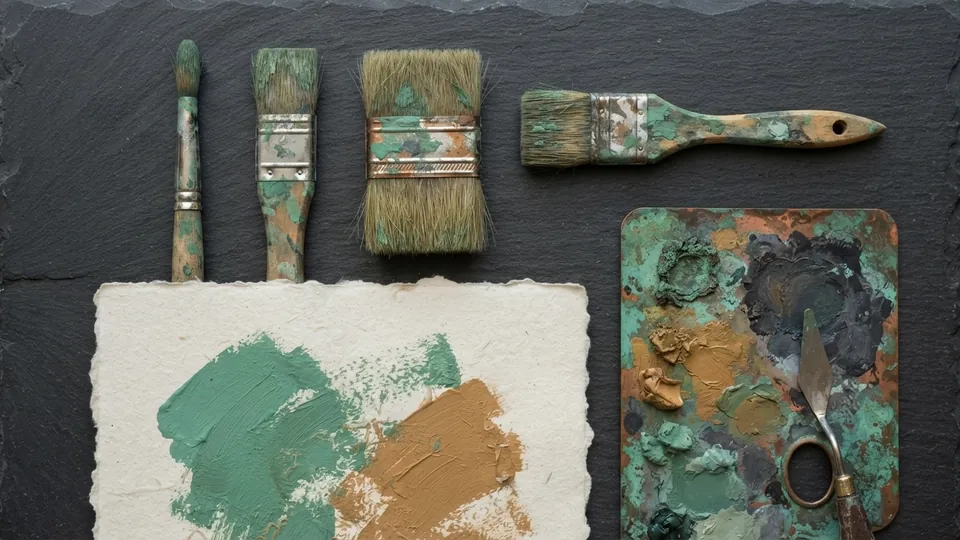
Painterly Brush Set
The Painterly Brush Set is sixteen free painting brushes for digital work: hard and soft rounds for blocking, two blending brushes, bristle and chalk brushes for tactile rendering, a soft airbrush, and texture brushes for skin, cloth and foliage. It suits Procreate, Krita, Clip Studio and Photoshop, free for personal and commercial use.
A painting app ships with hundreds of brushes and most painters use five. These painterly brushes are that five plus the specialists that earn a place: a hard round to block, a blender to turn form, a bristle brush to leave a visible hand. The set lives in the free brushes and resources library; its download bundle is still being finalized, so this page lists what it contains and how each brush is meant to be used.
What it is for
Made for the full painting pipeline, from the first value blocks to finished rendering. The hard rounds block shapes with crisp edges, the soft rounds and blenders handle turning forms, and the bristle and chalk brushes add the broken, tactile edge that keeps a digital painting from looking airbrushed. Most finished pieces need only three.
Painterly, in Tate's glossary entry, means visible, broken brushwork rather than hidden, blended surfaces, and that is the quality this set is tuned for. The bristle brushes imitate the ridged paint the National Gallery describes as impasto, a mark that reads unmistakably as a hand at work.
What is inside
| Brush | Stroke character | Use it for |
|---|---|---|
| Hard Round (2) | Crisp edge, opacity on pressure | Blocking shapes and values; most of the painting |
| Soft Round (2) | Feathered edge, low flow | Turning forms, soft terminators |
| Blender Smooth | Smudges without adding paint | Long gradients on skin and sky |
| Blender Dry | Smudges with a bristle streak | Turning forms while keeping stroke direction |
| Bristle Flat, Bristle Round | Ridged, broken, directional | Visible brushwork, cloth, hair masses, backgrounds |
| Chalk Coarse, Chalk Fine | Dry grain, catches on edges | Rough surfaces, rock, worn cloth |
| Airbrush Soft | Very soft, 5 to 10 percent flow | Gradients, glow, atmosphere |
| Texture Skin | Fine speckle, low contrast | Breaking up smooth skin at the end |
| Texture Cloth, Texture Foliage | Woven grain; clustered leaf marks | Fabric near the focus; distant trees |
| Scumble | Thin, patchy, dry | Dragging light over a dark underpainting |
Two hard rounds, two soft rounds, two blenders, two bristles, two chalks, one airbrush, three textures and a scumble make sixteen. The rounds do about 80 percent of any painting; the rest are finishing tools.
Settings that matter
The set is built for opacity on pressure and a fixed flow, so a light touch lays a glaze and a firm one covers. Change size freely; change flow only with a reason.
| Brush | Size | Opacity | Flow | Spacing | Note |
|---|---|---|---|---|---|
| Hard Round | 40 to 120 px for blocking, 8 to 20 px for detail | Pressure, 20 to 100 percent | 100 percent | 5 to 8 percent | Turn off size on pressure while blocking |
| Blender Smooth | 80 to 200 px | Fixed 40 to 60 percent | n/a | 3 percent | Above 70 percent erases form |
| Bristle Flat | 30 to 90 px | Pressure, 30 to 100 percent | 80 percent | 10 to 15 percent | Follow the form direction with every stroke |
| Airbrush Soft | 200 to 400 px | Fixed 20 percent | 5 to 10 percent | 10 percent | Never for shadows |
A short workflow with this set
A sphere or a head, one light, greyscale first, following values before color.
Block three values with the hard round
Hard round at 100 px, size on pressure off. A light, a mid and a dark as flat shapes with crisp edges.
Soften the terminator only
Soft round at 100 px and 30 percent, two passes along the line where light turns to shadow. Leave the cast shadow hard at contact.
Render with the bristle brush
Bristle Flat at 40 to 60 px, strokes following the form, streaks left visible.
Add color on a Color layer
New layer set to Color, hue painted over the greyscale with a soft round, as the layer modes cheat sheet describes.
Texture the focal point, then stop
Texture Skin or Cloth at 10 to 20 percent, only within a head-width of the focal point.
Three brushes per painting: one to block, one to turn, one to render. Switching every minute means the problem is a value decision.
Tips for getting the most from it
- Block in with a hard round at large size before touching a blender.
- Blend only where the form turns gently. Leave hard edges where the form turns fast.
- Use the textured brushes last and sparingly, mostly near the focal point.
- Paint value studies with this set in greyscale first to learn how each brush behaves.
- Move the brushes you use into a favorites group, as the getting started guide to the free brushes suggests, and hide the rest.
Pairs well with
Paint from the value ordered muted palettes while you block in, and finish with a pass of the paper and canvas textures at low opacity.
Common problems and fixes
| Problem | Likely cause | Fix |
|---|---|---|
| Painting looks airbrushed and plastic | Soft round or airbrush used for shadows | Block shadows with the hard round; soften only the terminator |
| Blending turns everything to mud | Blender strength too high, blending across value boundaries | Strength 40 to 60 percent; blend within one value, never across the shadow line |
| Bristle strokes look like noise | Random stroke angles | Follow the form direction |
| Colors go grey when blended | Blending complementary hues | Blend within a hue family |
Painterly brushes, in short
Block with a hard round, soften only the terminator, render with a bristle brush that follows the form, and texture only the focal point. Three brushes, in that order, is how these painterly brushes are meant to be used. Where each edge goes is covered in hard and soft edges.
How to install it
New to installing resource sets? The getting started guide to the brush sets walks through importing a set and choosing the right one for the job. For where these fit in a painting, see the digital painting fundamentals pillar, and browse the rest of the free brushes and resources library.
Sources and further reading
Primary references for the facts and definitions in this piece, all from independent publishers:
- Tate: Painterly: what painterly brushwork is and why it reads as hand-made.
- The National Gallery: Impasto: thick, textured paint that the bristle brushes imitate.
Free to use in personal and commercial projects. Do not resell the files themselves as your own pack. That is the only rule, and the full wording is in the terms of use for tutorials and resources.
Common questions
What are painterly brushes in digital painting?
Brushes that leave a visible mark: a ridged bristle streak, a dry chalk grain, a hard round edge that stays crisp. An airbrush hides every stroke; painterly work reads as made by hand because the marks show both the surface and the movement of the arm.
What is the best blending brush for digital painting?
A smudge type blender at 40 to 60 percent strength, used only along the line where light turns into shadow. Blender Smooth here is for skin and sky; Blender Dry keeps a bristle streak. Blending across a value boundary is what makes paintings muddy.
Are these free painting brushes for Procreate only?
No. The set ships for Procreate, Krita, Clip Studio and Photoshop. Bristle and texture marks differ slightly between engines, but the sizes, opacities and spacing on this page hold in all of them. The bundle is being finalized for release.
Related reading
- Paper & Canvas Texture PackTen tileable grain overlays to give digital work a made by hand surface. Set to Overlay or Soft Light at low opacity, applied last.
- Values in Painting: Why Your Color Looks OffIf a painting looks wrong in color, it is almost always wrong in value. Build the value structure in three greys before you touch hue, and color becomes the smaller half of the job.
- Hard and Soft Edges: Controlling the EyeEdges are a language. Where you put hard, soft and lost edges tells the viewer where to look, what a surface is made of, and how fast a form turns away from the light.
- Muted Color Palette CollectionTwenty considered palettes in low saturation ranges for skin, fabric, and atmosphere. Eight swatches each, ordered from light to dark.