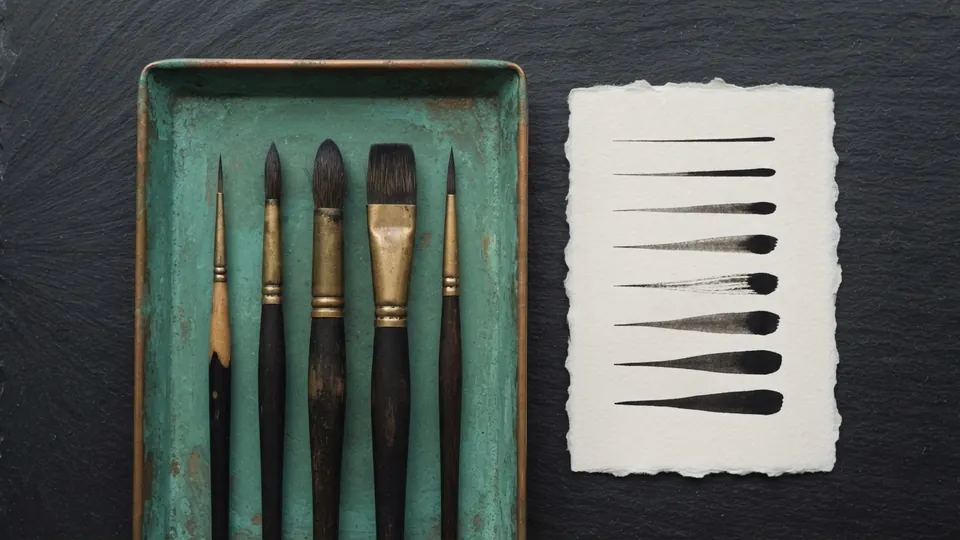
Free Brushes: Getting Started With the Sets
The free brushes on Bio Rust come in four sets: ink and lineart, painterly, paper and canvas textures, and muted palettes. Import a set through your app's brush or resource panel, make slow pressure strokes on a scratch layer, adjust the pressure curve before judging any brush, then keep six to ten brushes per piece in one favorites group.
Every set in the free brushes and resources library is free to use in personal and commercial work, with no attribution required. This guide covers what each set is built for, how to import brushes into Procreate, Clip Studio and Krita, how to set a pressure curve, and how to keep a library small enough that you reach for the same free brushes on every piece. The download bundles are still being finalized; each set is described in full on its own page.
Which free brush set for which job
The four sets cover a full pipeline: inks, blocking and rendering, surface, and color.
| Set | Best for | Start with these | Size or setting range |
|---|---|---|---|
| Ink and lineart set, 12 brushes | Clean character line work, lash lines, hair tips, contour weight | One tapered inker, the weighted brush for outer contours, one fine liner for hatching | 3 to 12 px for interior lines; 8 to 18 px for outer contours |
| Painterly set, 16 brushes | Value blocking, turning forms, tactile rendering, glow | One hard round, one soft round, one blender, the soft airbrush | Block at 80 to 200 px; render at 15 to 40 px; airbrush at 200 px and above, 20 to 30 percent opacity |
| Paper and canvas texture pack, 10 tileable grains | Giving a finished piece a surface; fine paper under inks, canvas under paint | Fine paper grain for line work, tight canvas weave for painterly pieces | Overlay or Soft Light at 10 to 25 percent opacity, applied last |
| Muted color palette collection, 20 palettes | Value ordered color for skin, fabric and atmosphere | One skin range and one neutral earth range for a first portrait | Eight swatches per palette, light to dark; one palette per piece |
Free to use in personal and commercial work. No attribution required. Do not resell the brush files themselves as your own pack.
How to install free brushes in Procreate, Clip Studio and Krita
The file extension tells you which app a set is for. Procreate uses .brush for a single brush, .brushset for a set and .brushlibrary for a whole library, as the Procreate Handbook's Brush Library chapter sets out. Krita ships presets in a .bundle file, and Clip Studio uses .sut files for sub tools. Photoshop reads .abr. Texture packs and palettes are plain image and swatch files and import through the pattern or swatch panel instead.
Procreate
Open the brush library by tapping the brush icon twice, tap the plus button at the top right, choose Import from Files, and pick the .brushset. The set appears at the top of your library.
Clip Studio Paint
Open the Sub Tool palette for the tool group you want the brushes in, open the palette menu, choose the import option, and select the .sut files. Drag the new sub tools into a group of their own.
Krita
Go to Settings, then Manage Resources, and use Import Bundle to load the .bundle. Activate it in the same dialog and the presets appear in the preset docker. The Krita Manual's resource management page covers bundles, tags and removal.
Test on a scratch layer
Make three strokes with each brush: a slow line from light to heavy pressure, a fast flick, and a short scribble at the size you would actually work at.
Set the brush pressure curve before you judge a brush
Most complaints about a new brush are really complaints about the pressure curve. Every tablet and hand is different; a brush that tapers cleanly for one artist feels dead or jumpy for another. Before deciding a brush is wrong, make a slow stroke from the lightest touch to full pressure. It should widen evenly along its whole length.
The curve maps stylus pressure to the value the brush uses for size or opacity. The Krita Manual's sensors page lists the inputs a brush can read, including pressure, tilt, speed and PressureIn, which keeps the highest pressure reached in a stroke until you press harder. Four pressure curve shapes cover almost every hand.
| Curve shape | What it does | Suits |
|---|---|---|
| Straight diagonal (default) | Output equals input; half pressure gives half width | A neutral starting point on a tablet with good pressure range |
| Bowed upward (soft) | Light touch already gives 40 to 50 percent width; full width arrives early | A light hand, or a hard nib that needs pressing to register |
| Bowed downward (firm) | Nothing much until 40 percent pressure, then width climbs fast | A heavy hand whose lines hit full thickness too soon |
| S-curve | Flat start, steep middle, flat end; thin stays thin and thick stays thick | Inking, where you want clear thin and thick states and little in between |
Set the curve once at the app or driver level, then leave per-brush pressure settings at default so a global change reaches every brush.
Keep a small brush library you actually use
It is tempting to import every set you find. Resist it. A working artist relies on five or six brushes for most of a piece: one sketch brush, one inker, one hard round, one soft round, one blender, and one texture. The rule here is six to ten brushes per piece, in one favorites group, and nothing else visible while you work.
- Import a set and test every brush once on the scratch sheet.
- Pick the two or three from each set that suit your hand. Move them into one group named for the job, such as Character or Painting.
- Hide or archive the rest.
- Use the same group for five pieces before you allow another import.
Procreate keeps a Recent set of up to eight brushes at the top of the library and lets you pin any of them, as the Handbook describes. Krita does the same job with tags. A small library is faster to reach for and keeps mark making consistent from piece to piece.
Common problems with free brushes and the fix
| Problem | Likely cause | Fix |
|---|---|---|
| Set does not appear after import | Wrong app format, or the bundle is imported but not activated | Check the file extension matches your app; in Krita, tick the bundle in Manage Resources |
| Lines jump to full width at a touch | Pressure curve bowed too far upward, or a heavy hand on a default curve | Bow the curve downward so width only climbs past 40 percent pressure |
| Have to press hard to get any line | Curve bowed downward, or the tablet's own pressure setting is set firm | Lift the curve; check the tablet driver's pressure slider before touching the app |
| Strokes look blobby or stepped | Spacing too wide for the size, or stabilizer off on a shaky hand | Reduce spacing to 5 to 10 percent; add a light stabilizer for inks |
| Texture overlay changes the colors | Overlay blend at too high an opacity, or applied under color layers | Move it to the top, use Soft Light, hold opacity at 10 to 25 percent |
Where the free brushes earn their keep
The soft and hard rounds in the painterly set are built for the exercise in hard and soft edges. The tapered inkers were made for the heavy outer corner of the upper lash line in the anime eye method.
Consistent brushes also help your process record. The same handful of free brushes showing up across your layered files and timelapses is one more visible signature of a hand at work, which matters if you ever need to show how a piece was made. Import one set, keep six to ten brushes, tune the pressure curve once, and let the same free brushes carry the next ten pieces.
Common questions
How do I install Procreate brushes?
Tap the brush icon twice to open the library, tap the plus button at the top right, choose Import from Files and select the .brushset file; the set appears at the top of your library. Tapping a .brushset file in the Files app also imports it.
Why does my new brush not respond to pressure properly?
Almost always the pressure curve. Make a slow stroke from lightest touch to full pressure. If width arrives too early, bow the curve downward; if you have to press hard, bow it upward. Check the tablet driver's pressure setting first, then the app's global curve.
How many brushes do I actually need?
Six to ten per piece: one sketch brush, one inker, one hard round, one soft round, one blender, one texture, plus a few accents. Keep them in one favorites group and hide the rest so the library stays fast to pick from.
Can I use the free brushes in commercial work?
Yes. Every Bio Rust set is free for personal and commercial work with no attribution required. The one restriction is that you may not resell the brush files themselves as your own pack. The download bundles are being finalized; each set's page describes what it contains.
Do the free brush sets work in Photoshop and Krita as well as Procreate?
Each app needs its own format: .brushset for Procreate, .sut for Clip Studio, .bundle for Krita and .abr for Photoshop. Texture packs and palettes are plain image and swatch files, so they work in any app. Check each set's page for the formats it is described in.
Sources and further reading
Primary references for the facts and definitions in this piece, all from independent publishers:
- Krita Manual: Resource management: importing and organising brush bundles.
- Procreate Handbook: Brush Library: importing, grouping and organising brushes on a tablet.
- Krita Manual: Tablet sensors: pressure curves and how they change a brush.
This method is part of the free brushes and resources library. Pair it with Ink & Lineart Brush Set and Painterly Brush Set.